Configuring buttons and output
Procedure:
- Open →TIA portal v13
- Create a new project
- Give project name, path, author, comment and click on create
- Go to →project view
- In project tree go to →"add new device"
- Go to → PC system>Simatic HMI application>WinCC RT advanced
- Click → ok.
- Go to →
Hardware catalog>pc system>communication modules>Profinet/Ethernet>IE general.
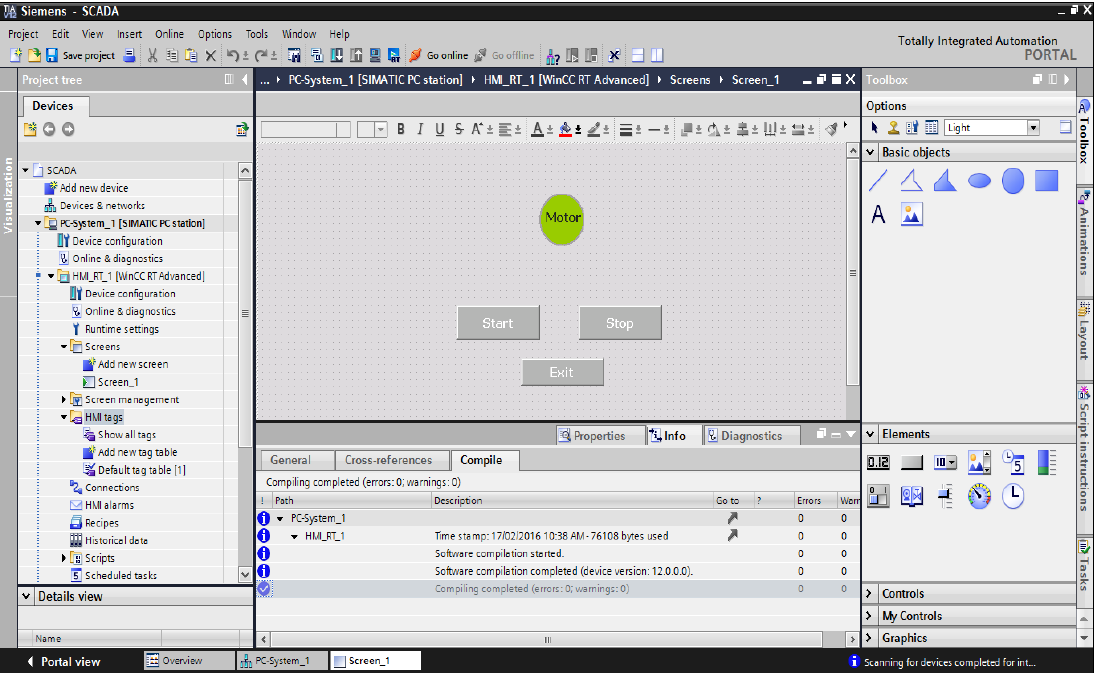
Drag and drop to Simatic PC station in device view - Go to → project tree>hmi_rt_1 >screen>add new screen
- Take three buttons from tool box> elements, and also take one circle from >toolbox > basic objects
- Rename buttons to “Start”, "Stop”, and “Exit” and add text field below circle and give name to “Motor”
- Go to → project tree>HMI tag>default tag table
- Click on “add new” and add 'start tag", “stop tag”, and “lamp” and data type “bool”
- Now go to screen>screen_1>select "start button and click below its “properties”
- In properties go to “events tab” >select “click” > double click on ‘add function’ and search for “set bit”, after selection in place of “tag(input/output” assign “start tag”.
- Now select “stop button” properties >event>click> search for “invert bit”> assign “start” tag
- Click lamp > properties> animation>appearance >dynamic colors and flashing
- Add tag name" Start" in below table add range “0” and “1” set back ground color "red for “0”, and "green for “1”.
- Now select "Exit” button properties >event>click> search for “stop runtime”
- Compile the project.
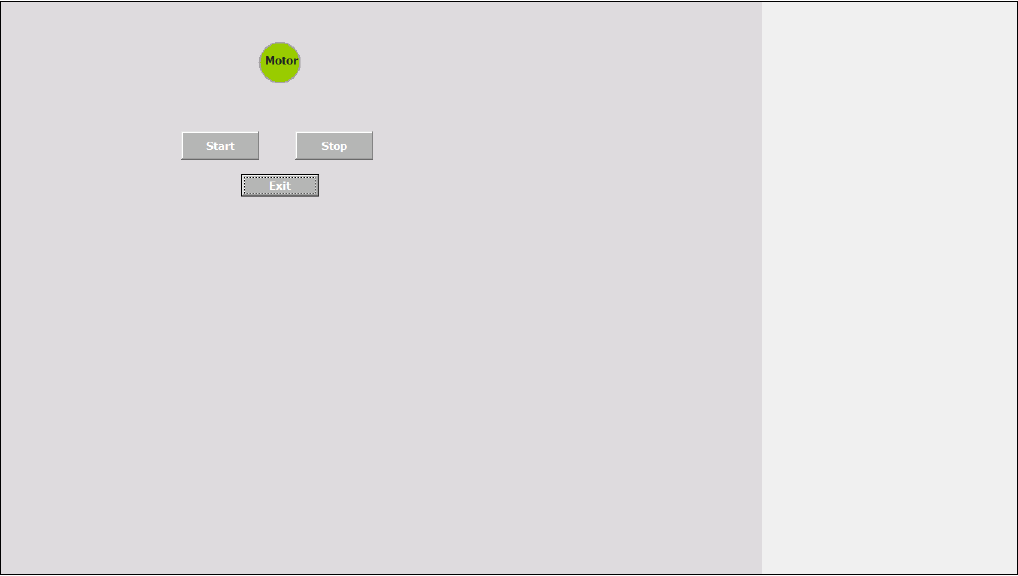
- Start “runtime”
TIA PORTAL
RUNTIME SCREEN