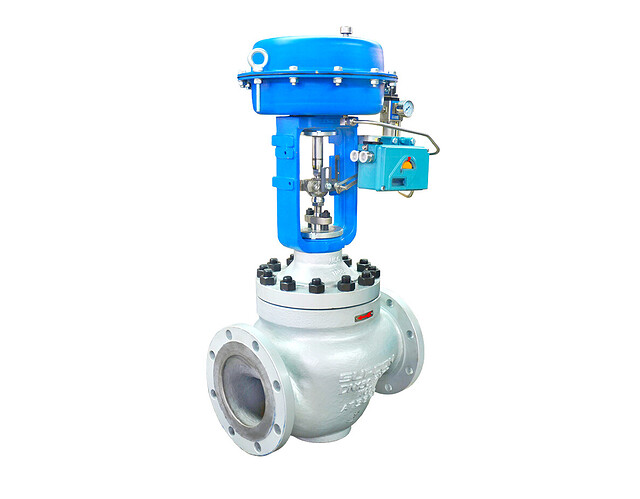
Here’s a general procedure for Valve Calibration and Testing:
Valve Calibration and Testing
1. Ensure Safety: Before conducting any tests or adjustments, follow proper safety procedures, including isolating the system, releasing pressure, and taking necessary precautions to avoid injury.
2. Verify Calibration: Confirm that the Foundation Fieldbus positioner is properly calibrated and functioning correctly. Refer to the manufacturer’s instructions for specific calibration procedures.
3. Set 4mA and 20mA Points: Connect the 4-20mA source to the input of the Foundation Fieldbus positioner. Set the source to 4mA and observe the corresponding valve position. Then set the source to 20mA and note the valve position again.
4. Calculate Stroke Range: Determine the stroke range of the valve by subtracting the 4mA position from the 20mA position. This will provide the full stroke length of the valve.
5. Perform Stroke Test: Set the 4-20mA source to intermediate values between 4mA and 20mA, such as 8mA, 12mA, and 16mA. Monitor the corresponding valve positions and verify that they correspond proportionally to the set current values.
6. Compare Actual vs. Expected: Compare the actual valve positions observed during the stroke test to the expected positions based on the 4-20mA input. Ensure that the valve movement is smooth, accurate, and within the expected range.
7. Document Results: Record the observed valve positions at each current input value during the stroke test. This information can be used for analysis, troubleshooting, and future reference.
Remember to consult the manufacturer’s documentation and follow their specific guidelines for performing a stroke test on the valve and positioner combination you are working with.
More Details Here:
